
Five months ago I posted The Green Horseman’s Projects 2020. This was right before the COVID-19 crisis really took off in New York. I was still going into work daily, we were carrying on as normal.
At the end of March everything in New York shut down. I began to work from home. With a 45 minute-one-way commute eliminated I had more time. More time for sleep, more time for horses, and more time for building.
And did I build.
First, I should remind you of where I left off in March…
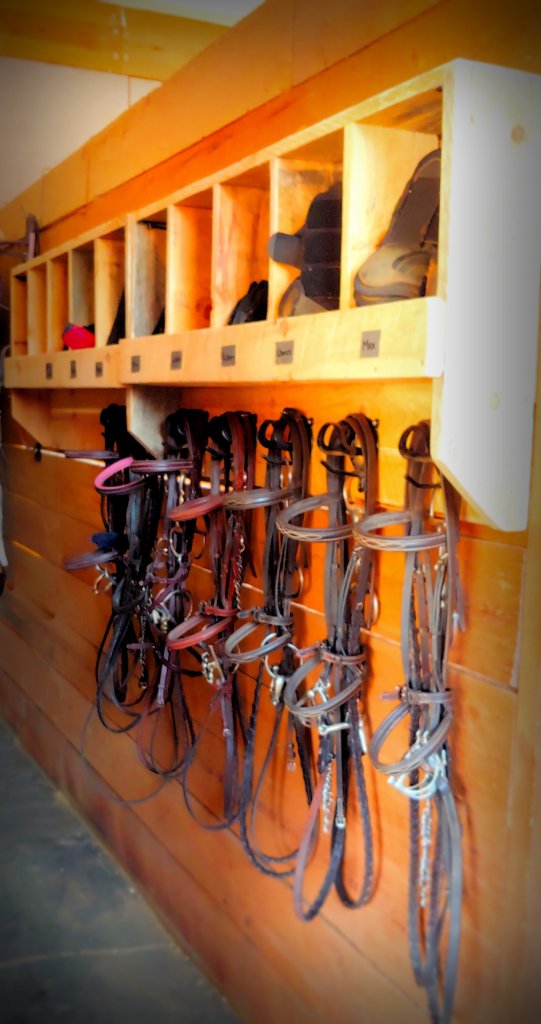


I have made a gate filler. I designed a coop that can be pulled by my ATV. I built a couple bridle racks. Since that post I made two additional bridle racks (one for myself). At the time of the post in March I had finished part of the feed bin.
Want to see how it came out?


I loved how it came out so much that I made one for myself and stained/sealed it with a tinted polyurethane…

My next endeavor was to make skinny coops for a friend. These stand about 21″ high and are only 4ft wide. They can be paired together or jumped individually for a challenge. I made two for her and one for myself (I kept mine natural looking with a transparent wood sealer to appreciate the natural colors in the wood).


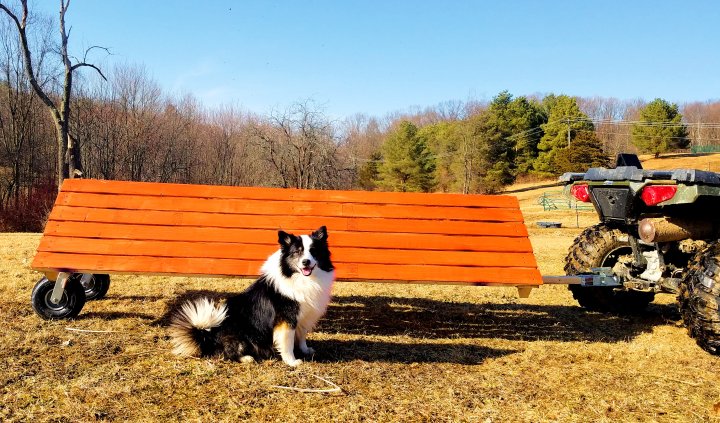
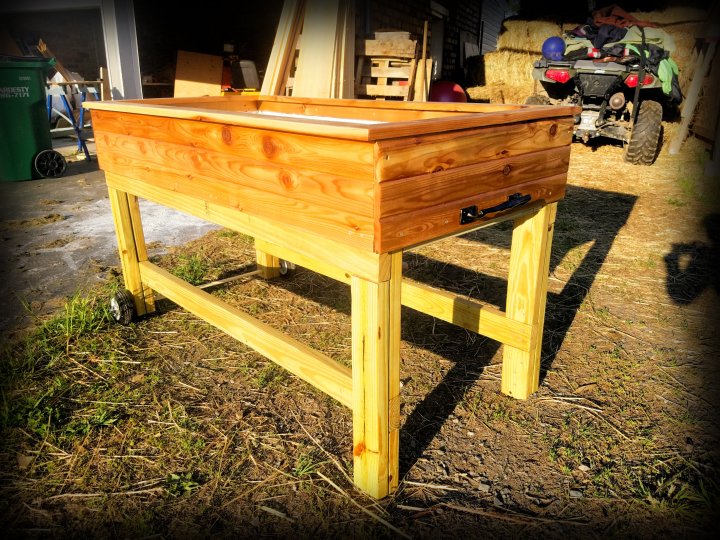
One of my friends soon asked me if it might be possible to try building a raised garden bed with wheels. I did some research and designed everything myself using ideas borrowed from everywhere. I wanted it to be sturdy because the design was larger than most garden beds found commercially so I used pressure treated wood. For the bed itself I used tongue and groove cedar boards. I found a video that had a neat trick to build a garden with “secret drainage” so I used his idea with my own variation. Since my garden bed is custom made I had to make my own tweaks. My biggest hiccup was figuring out how to put wheels on the garden. I could use castors but the “off road” style are huge and would be an atrocity. Instead I found a metal rod to go through the wheels and with Zac’s help we drilled holes where cotter pins can fit. I used pvc slightly larger than the rod and it acts as a stopper to hold the wheels in place. With a coat of glossy polyurethane and a nice handle it was ready to go!

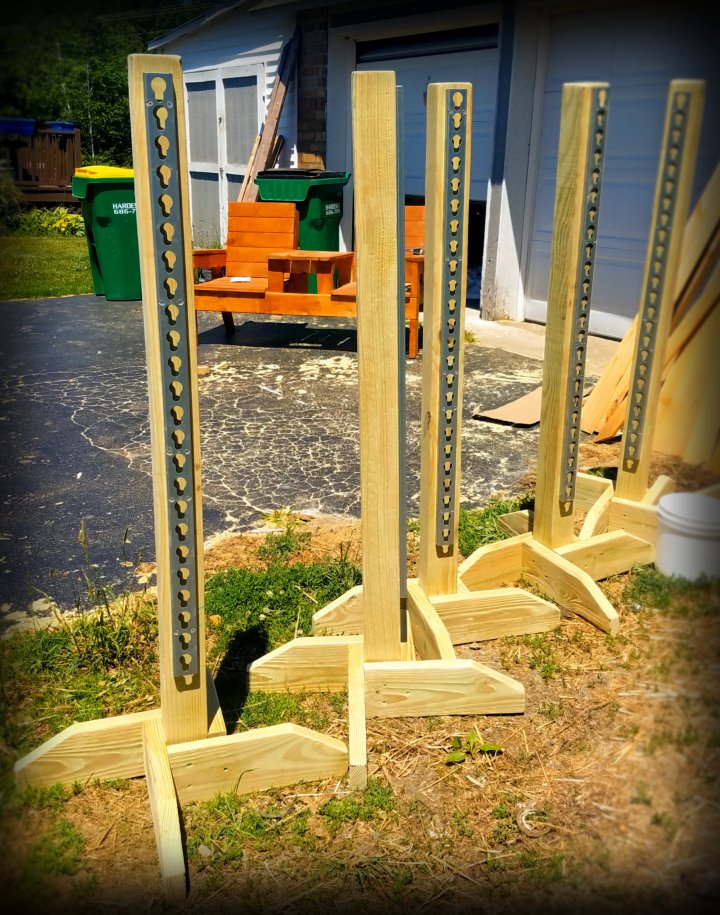
I also embarked on creating sturdy cavaletti. As I sit here writing tonight I can say I have now made 13 cavaletti.
On DIY sites I see people making them from 2x4s. Or they put two 2x4s together to make it LOOK like a 4×4. Instead I chose to make mine with real 4×4. They are sturdy and so useful to have around. Alone they have 3 different height settings depending on what rotation you have. You can also stack them for more height. I have kept five for myself, sold 5 to a friend, and another 3 to a happy customer. I have a feeling I’m not finished making them…


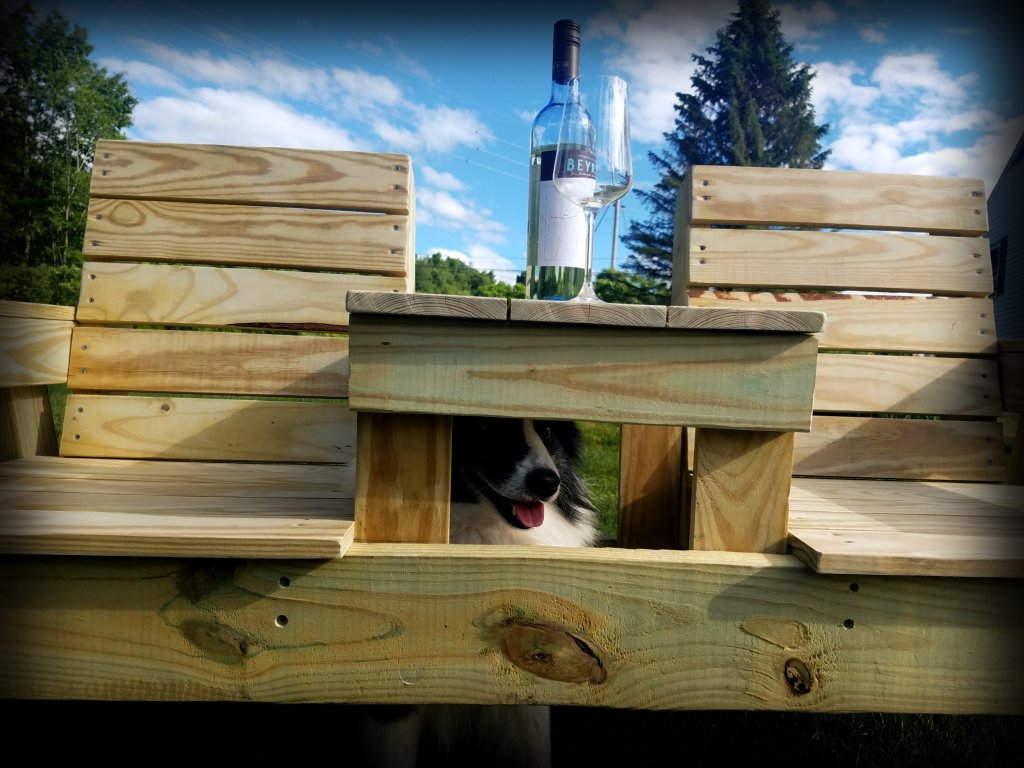
This year I stumbled upon a project that I never expected to be so popular….
A dual bench.
We have a beautiful 4 season room that is painted yellow and currently (WAS) empty. I thought some white furniture would look lovely but Zac insisted it not be wicker.
That said, I started looking for ways to create something with wood to enjoy our porch. I found the solution with https://www.diypete.com/.
I began by making one with rough cut wood…incase I messed it up. It came out lovely! It’s a perfect height for my stumpy legs and it’s comfortable (as far as wood benches go). My prototype bench was a hit but it wasn’t going to go on the porch…instead I stained it to match the horse barn (with leftover stain) and it will live by the firepit for when we have fires. I purchased more wood and made two more benches. This time I stained one to match the pool deck (again using leftover stain) for poolside lounging and the other got a few coats of solid white stain and now lives on our 4-season porch.
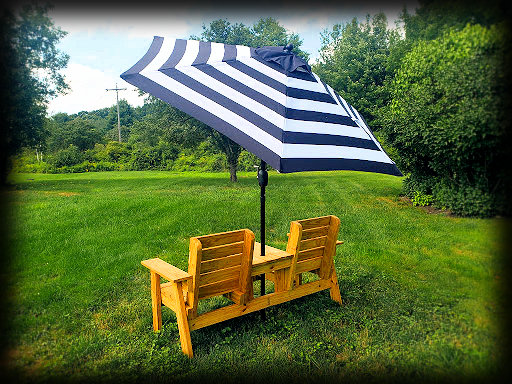
As I was honing my skills people saw my progress on Facebook and reached out. In two months (maybe 2.5) I had built a total of nine benches! I also recently purchased a hole saw and the benches now have an option to add a patio umbrella. My neighbor purchased a black and white umbrella and it matches their style perfectly.


The benches have kept me busy for the majority of the summer, but they aren’t everything that I have made since then…
A new person contacted me over Facebook looking for standards with keyhole fittings. Pictured is the lovely rider herself using two of the three sets she got from me.

Another friend is beginning to build her own cross country course on her farm. To help start her collection I made her a coop. The coop stands 24″ high and 8′ wide. I left space on the bottom for her to pick the jump up with her tractor.


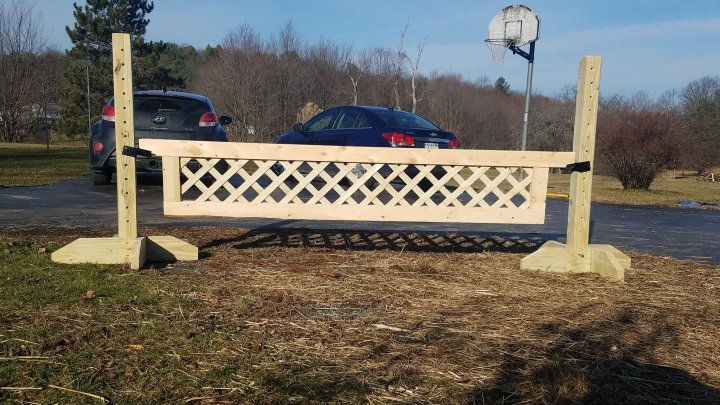
And that brings me to this very day. Sadly I didn’t get pictures yet of the jump fully painted so I will have to update you again later, but I have begun to create more cross country jumps to school over myself at home. I made this wall a couple of days ago and what I love about it is it’s adjustability. The bottom two boards are fixed so the jump begins at 1ft. I have built two attachments that can be used to raise the height of the jump by 6″ each. Having something that is so easily adjustable yet sturdy is going to REALLY come in handy!
I painted it ombre style. The bottom board is dark purple and each board gets lighter to a light blue! Updates will come after the paint dries and I’ve set it up.


WHAT’S NEXT
After finishing my ninth bench I took some needed time off. A few weeks actually. I loved building still but I started to feel overworked…and it was HOT outside. I was also forced to go back to work in person so I now have to commute again; no extra time after work to put in an hour or two.
I have created a “lookbook” per se of cross country style jumps. Zac has done an incredible job with our old Massey Ferguson tractor. We have rediscovered a lot of land that was previously overgrown. It’s going to take some time for the ground to be of quality for cross country schooling but I am working on creating a mini schooling course here at home. The jumps will all be smaller in size but fun and useful. As it stands now I have many poles, 6 sets of standards, 5 cavaletti, a skinny coop, a portable coop, and an adjustable wall. I’d say I’m off to a great start.
Zac’s mom surprised me with an early Christmas present….a miter saw! Zac did the same and purchased the stand. I used the saw to make the last two jumps and the most recent 6 cavaletti.
It’s a GAME CHANGER!
I am planning to continue making jumps, cavaletti, and various other projects that pop up. My jumps aren’t FEI standard but they get the job done. Maybe in time I will begin to step into the FEI standard sizes. The options and future awaits!


Leave a comment