

In part 1 (YOU CAN READ IT HERE) I described the process of how I planned my paddocks and made my purchases. This helped me know the quantities to buy without having to guess, run out and buy more, or have tons of excess. Today I will share how I began to actually build the paddocks.
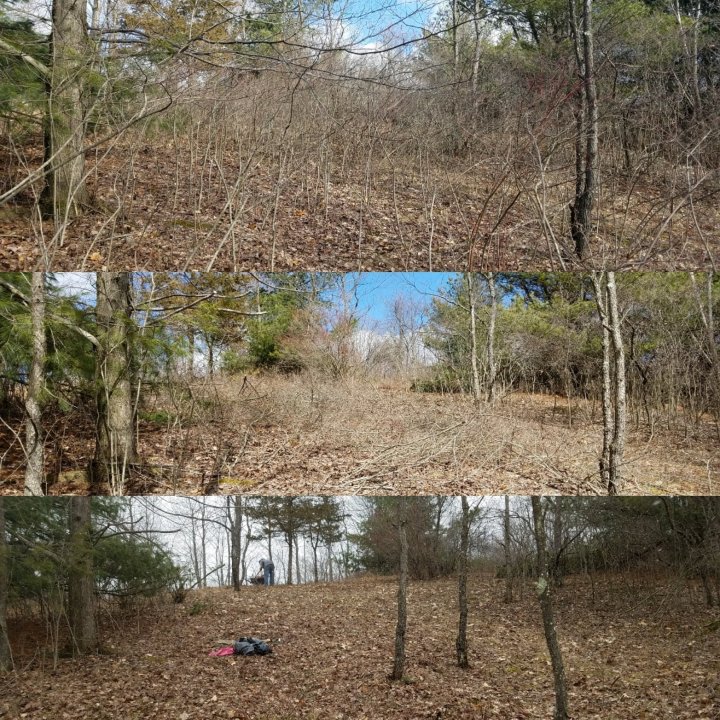
In the winter months Zac and I did our planning. We also began to clear land. In order to use the trees as fence posts I had to make sure the space was clear…especially since I was using solar powered electric. Any plant that touched the wires would trigger the electric fence and waste the electricity. We didn’t have many power tools at the time so I primarily used hand loppers. in two weekends I cleared the pace I wanted to use for fencing…plus a little extra for a future “trail” (which I now enjoy).
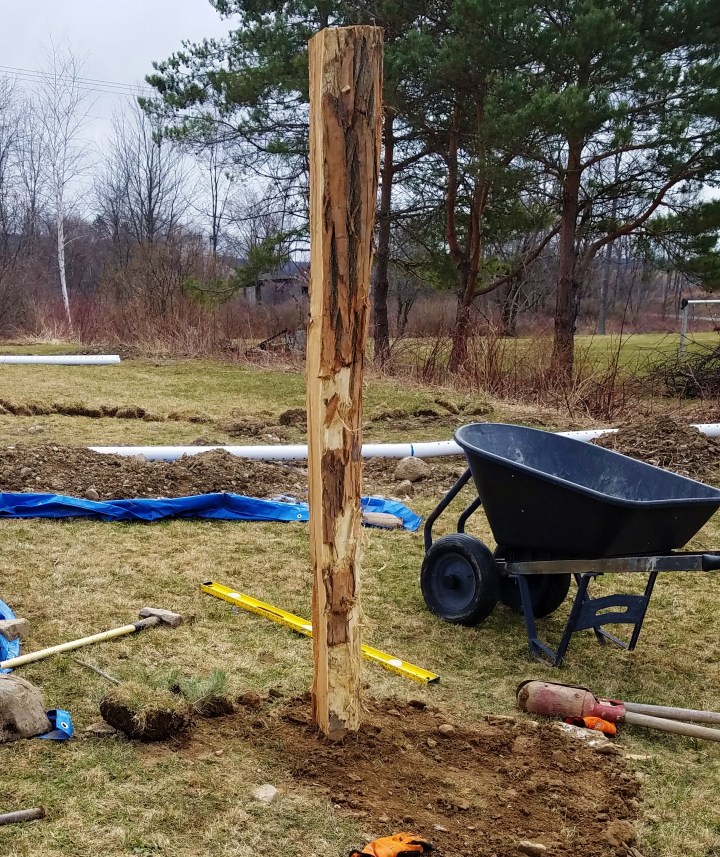
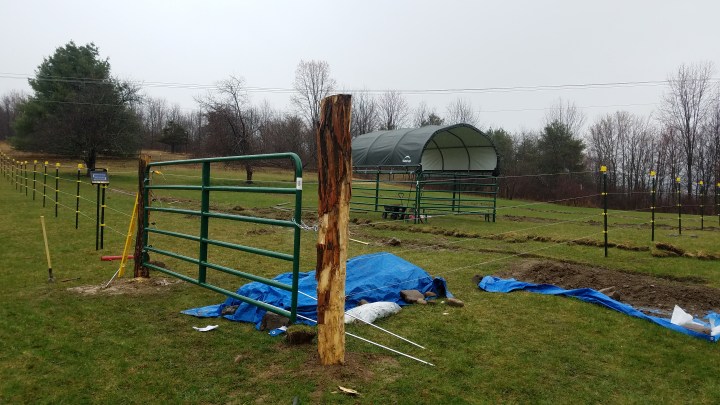
Once I had the space entirely cleared I could begin the post work. I began with the corners. In my mind once I have the corner posts set I could develop a clean straight line. I chose the spot for my first post and began digging. Again, we had no power tools. The only equipment I had was a post hole digger, shovels, and an ice auger that Zac’s friend loaned us. Though the ice auger isn’t necessary it was actually very handy for digging out the first 18 inches. Once I hit rock, however, I had to fight. To get deeper i used the post hole digger and a large metal spike to break up rocks. I set my post securely and moved on to the next.
I probably only managed to get 3 posts done per day due to the fact that we have a lot of shale and it was unsurpassed at 32″ so the posts didn’t get as far down as I would have preferred (but they are still very sturdy). I was relieved that I chose to only get 10 wood posts.

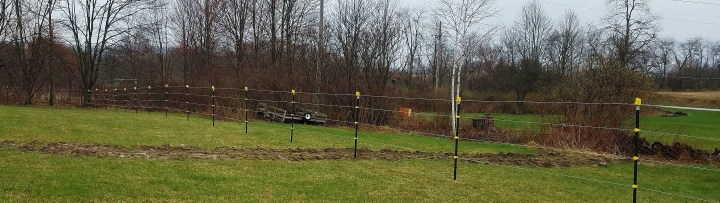
I made sure to put the corners where I wanted them FIRST. Then I ran a piece of string from one corner to the other. With a can of spray paint and a tape measure, I marked ten foot intervals on the ground along the string. This gave me a rough idea of where to set my metal T posts. Once I was marked I laid out my T posts and began driving them into the Earth.

I continued this into the woods and roughly measured a similar height up all of the trees for the “tree posts.” For these I manually screwed in the insulators.

Once I had the first three sides of the paddock placed, I was coming upon the last side which would become part of the lane, and the line in which I would require another wooden post for the gate. I waited to place the post for the gate so I knew my fence lines would be clean and straight. I purchased 12 foot metal tube gates for the paddocks so for the paddock entrance I separated two wood posts by 12’9″.
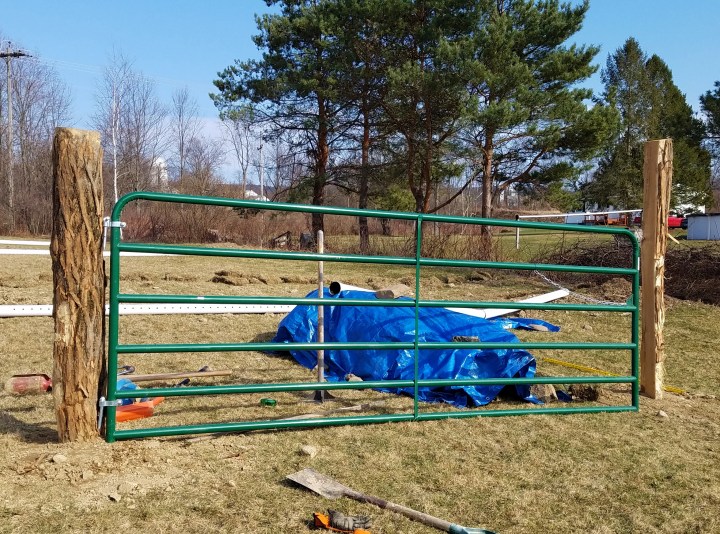
Locust posts are wonderful becuase they are rot and pest resistant but they are HARD. I borrowed Zac’s manpower to hang the gate.

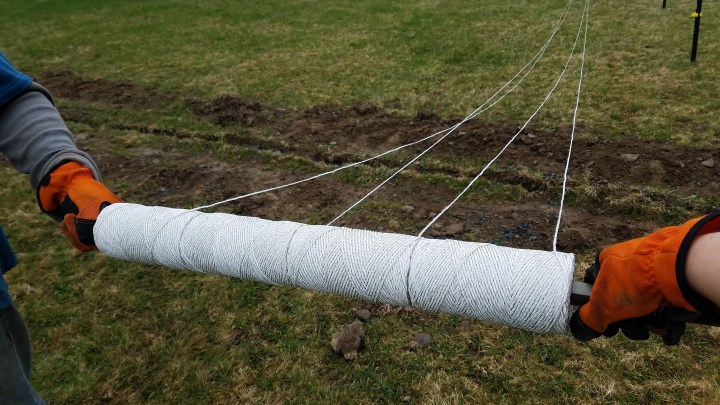
With the gate hung Zac and I thought it easiest to run all four fence wires at once. We put the rolls on a rod we had laying around and used gloves to prevent rugburn. We secured one end of the polywire fencing to one of the gate posts and began walking. At each corner we put the poly wire in it’s respective insulator and kept going. We took a second trip around the paddock to place the polywire in all of the insulators and make sure there were no criss-crossed sections. We finished up by securing the ends to the other gate post.
We finshed the first paddock looking pretty nice.
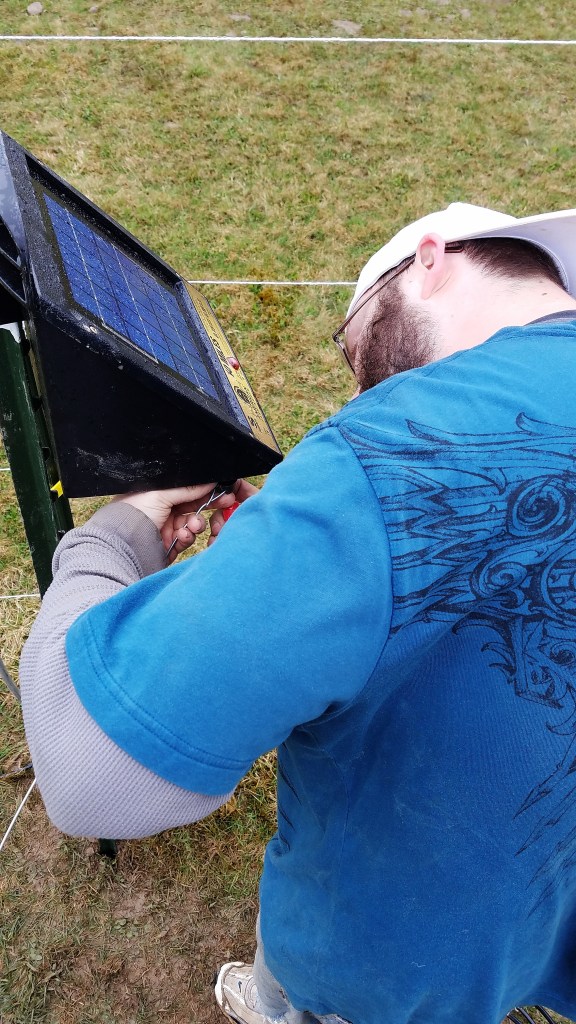
All that was left was for us to set up the electrical part of the fencing. Based on my research I purchased 3 grounding rods and grounding kit. The rods were placed 10 ft apart along the fence line (I can’t remember now if they are 6ft or 8ft but I believe they are 6ft). We drove them deep into the ground.
The science behind this is rather fascinating. The polywire is atteched to only one end of the charging box. Electricity is sent through the poly wire in one direction and doesn’t go anywhere; the system is open. The grounding rods are all connected in sequence and connected to the other terminal of the charging station. When a horse (or you) touches the wire the circuit is completed. The electricity travels through the body to the ground and makes it’s way to the grounding rod.

We carefully wired everything and positioned the solar panel towards the direct sunlight at noon. We allowed the system to build up charge over a couple days before testing it. In a couple days….yes…we can attest that it was fully charged and functional.
We brought Blade and Happy home in May 2018. We had one paddock built and over the next week or two I used the same methods to place our second paddock. The paddock covered the space to the left of the first with a 16ft lane all the way up to the upper hill.
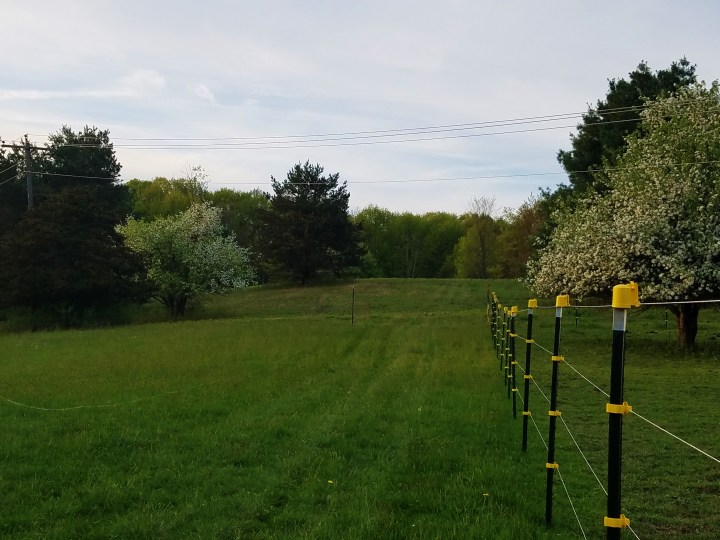
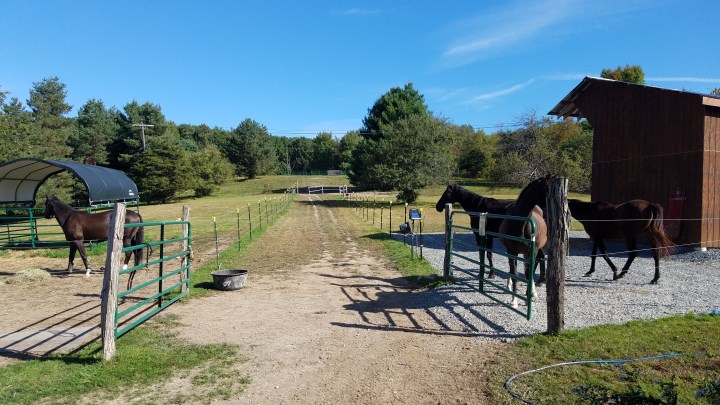
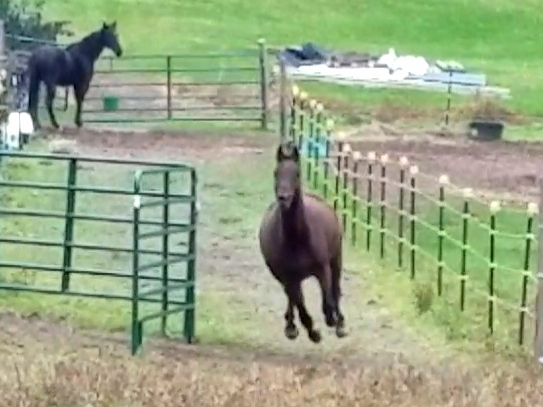
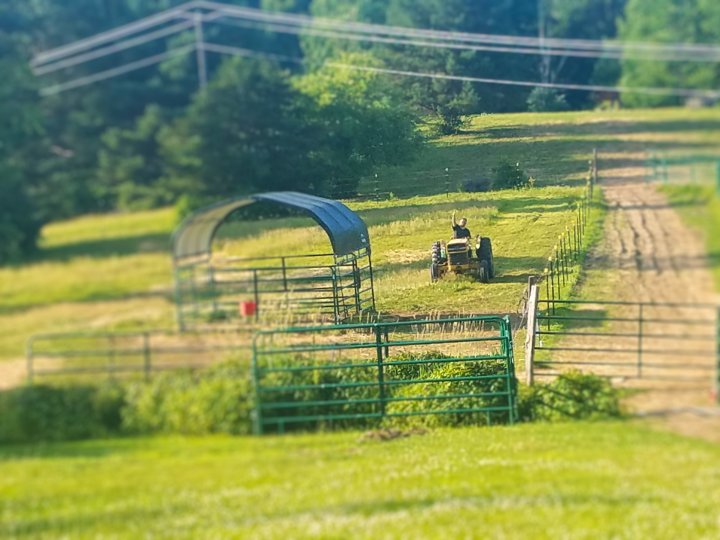
In time I managed to create a much larger turnout space at the top of the hill. This space still needs some work but the boys enjoy grazing the grass there and I’ve begun to place some movable cross country schooling jumps up there. It is also my new spot for the round pen. The gates of the lower two paddocks open opposite eachother. When they are both open they form a chute that connects both paddocks; it makes for changing paddocks fast and easy. Alternatively I can open the paddocks to allow the boys free access to the upper field. The boys often use the lane as a raceway.
I have mentioned it before and it’s worth repeating. My system works for me, made sense for the resources I had available to me, and makes sense for the geography and landscape. Despite what others may tell you there are no absolutely correct ways to go about building your paddocks.

My preferred way to manage space and create paddocks would be to create a single sacrifice pen that opened up to the other paddocks. One sacrifice pen with several turnout options. I didn’t visualize that for our landscape but I am always making improvements to the area.
For example, I have created a sacrifice area around my barn. The stone dust is 50ftx50ft and can comfortably hold my horses during inclement weather. Should I chose to change the layout in the future I would fence that area in and create paddock entrances around this area. This would of course take time, money, and take away the lane that I love so much.
Thanks again for joining me this week and I’d love to hear your feedback, questions, or simply tell me what your setup is like!


Leave a comment