
OVERVIEW:
I love getting footage of my adventures. I love videos. Photographs. Proof that I did the things.
I also love watching footage. I can’t tell you how many times I’ve watched the bodycam footage of Elisa Wallace piloting one of her horses around cross country. I’ll sit at the edge of my seat and try to count 5..4..3..2..1 strides and I’ll slightly bend my hips at every takeoff…attempting to practice training my eye.
Several years ago I purchased a Cambox. It was a 3D printed camera that fit using velcro under the brim of the helmet. For what it was it was great but I didn’t use it a whole lot. The angles were difficult to figure out, it was hard to know whether it was filming or not. There was a lot of movement. I had to ask the company to send extra sticky velcro because it didn’t want to stick to my helmet. That helmet has long since been retired and the extra sticky tape with it.
You can read my review about the Cambox here:
The Sunday Review: Cambox Isi3
It’s not that I hated my cambox but it was just “okay.” Newer versions looked much improved but I simply didn’t want to keep putting money into it.
Last fall I learned about the Insta 360 GO camera. The footage looked amazing. As it turns out the company makes several different camera so I had to research which one would be the best choice for me. On a Black Friday deal I impulsively purchased the Insta 360 Go Ultra…the standard bundle goes for under $500 normally. I upgraded to the cycling bundle as the attachments seemed to align with things I may want to use in my horseback riding adventures.
As usual the camera sat in boxes on my table for almost 3 months. Just days before I left for my Aiken, SC trip I finally unpacked everything and started charging the camera and prepping it for use.
There are so many gadgets!
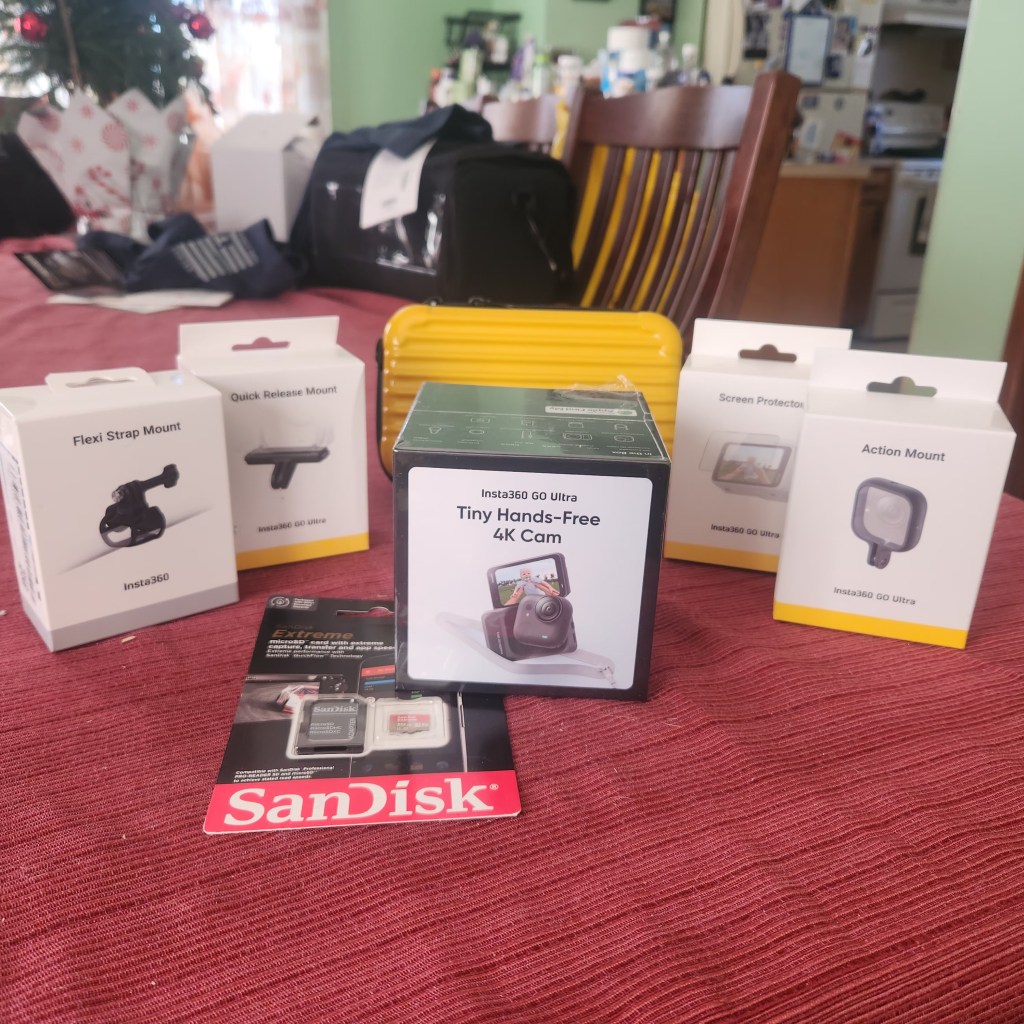
The cycling bundle includes the GO Ultra camera, a lens guard, a quick release safety cord, a magnetic easy clip, a magnetic pendent, a quick release mount, a screen protector for the larger screen, a flexi strap mount, and an action mount. The bundle also comes in a case to hold it all.
The only thing you need to buy is your own SD card because this model does not have built in memory. Make sure to buy one that has enough space and can handle video well (don’t buy the cheapest one).
This is the SD card I purchased. SanDisk is an excellent brand and 512GB is plenty of storage for now. Insta360 does not recommend more than 2TB.
Amazon: SanDisk 512GB Extreme microSD
When I got to Aiken I still hadn’t fully learned how to use the camera. I sat down one day and watched a YouTube video because the quick start directions simply weren’t working for me. I really enjoyed this video and it made me feel more confident.
The first thing I did was download the Insta360 App and connect to the camera. It needs to update files and formatting before you can use it for the first time. Once that’s done you’re off to the races!
Despite the video I think it will take some getting used to. I tend to get on my horse and just go without taking the time to check that the angles are correct and such. I should really slow down and make sure.
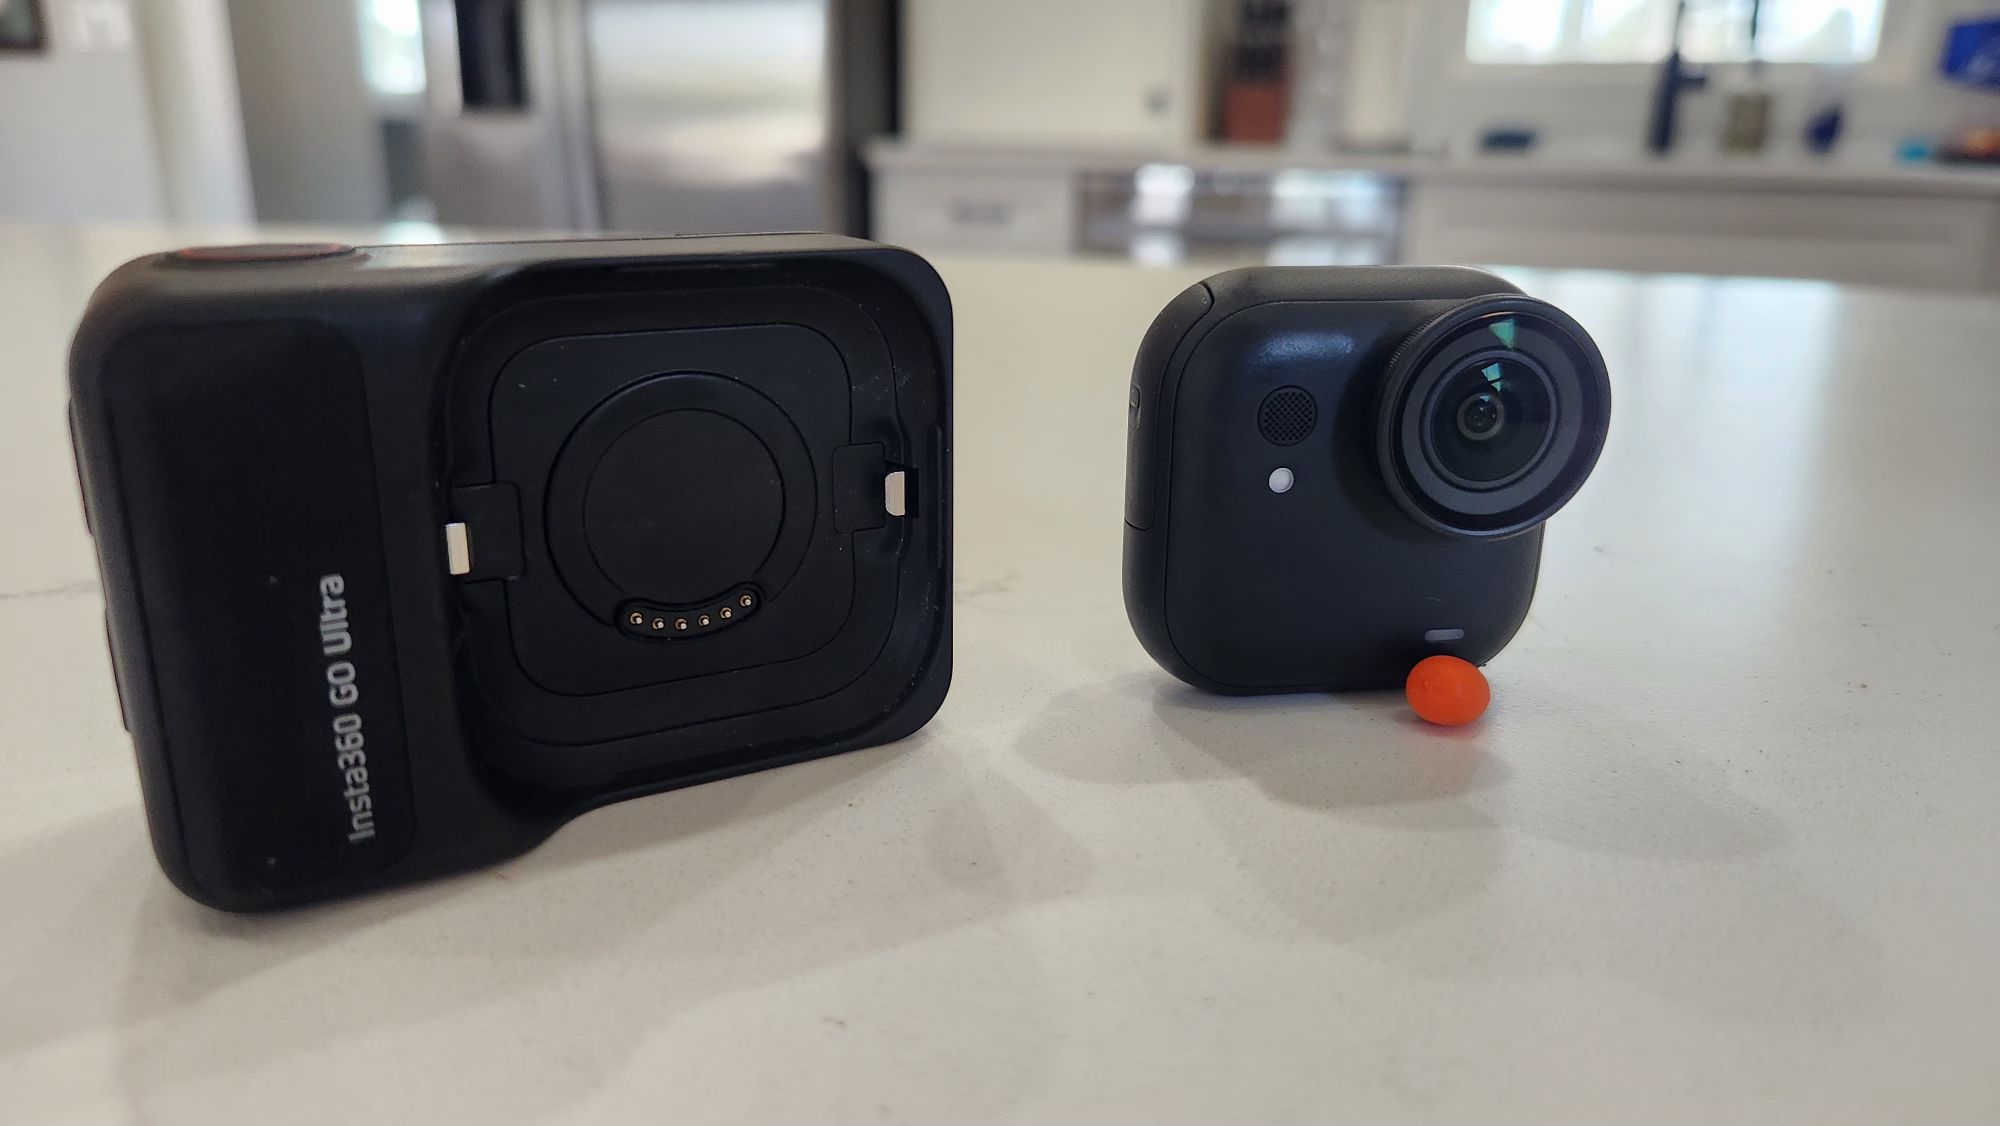
The camera is actually pretty easy to use. The small square camera can be used WITH the larger device or it can be used as a standalone camera. The large device can be used as a remote. Simply push a button on the larger device and start recording on the standalone camera. You can even see live feed from the standalone camera on the screen (even when it’s not attached). This makes it super easy for helmet cameras because I can put the larger device in my pocket and not do anything else.
The camera is powerful too. Here are some of the important details and specifications.
- Aperture: F2.85
- This is excellent because the camera can handle low light settings really well.
- 14.27mm Focal
- ISO Range: 100-6400
- Shutter Speed: 1/8000s-120s for photos
- White balance can be automatic but also 2000-10,000K
- 6-Axis Gyroscope
- Compatible with MANY devices
- Photo Resolution: Up to 50 megapixels
- Saved as JPG
- Video Resolution: This changes based on what mode you’re in but can be as good as 4K with 60 frames per second. 1080p at 240 frames per second.
- Saved at MP4
- Multiple Photo Modes:
- Photo
- HDR Photo
- Live Photo
- Interval Photo
- Starlapse
- Burst Photo
- Multiple video mode options:
- Video
- PureVideo
- FreeFrame Video
- Toddler Titan
- TimeShift
- Timelapse
- Loop Recording
- Slow Motion
- Audio Modes
- Auto Wind Noise reduction (2 strengths)
- Voice Enhancement
- Original Audio
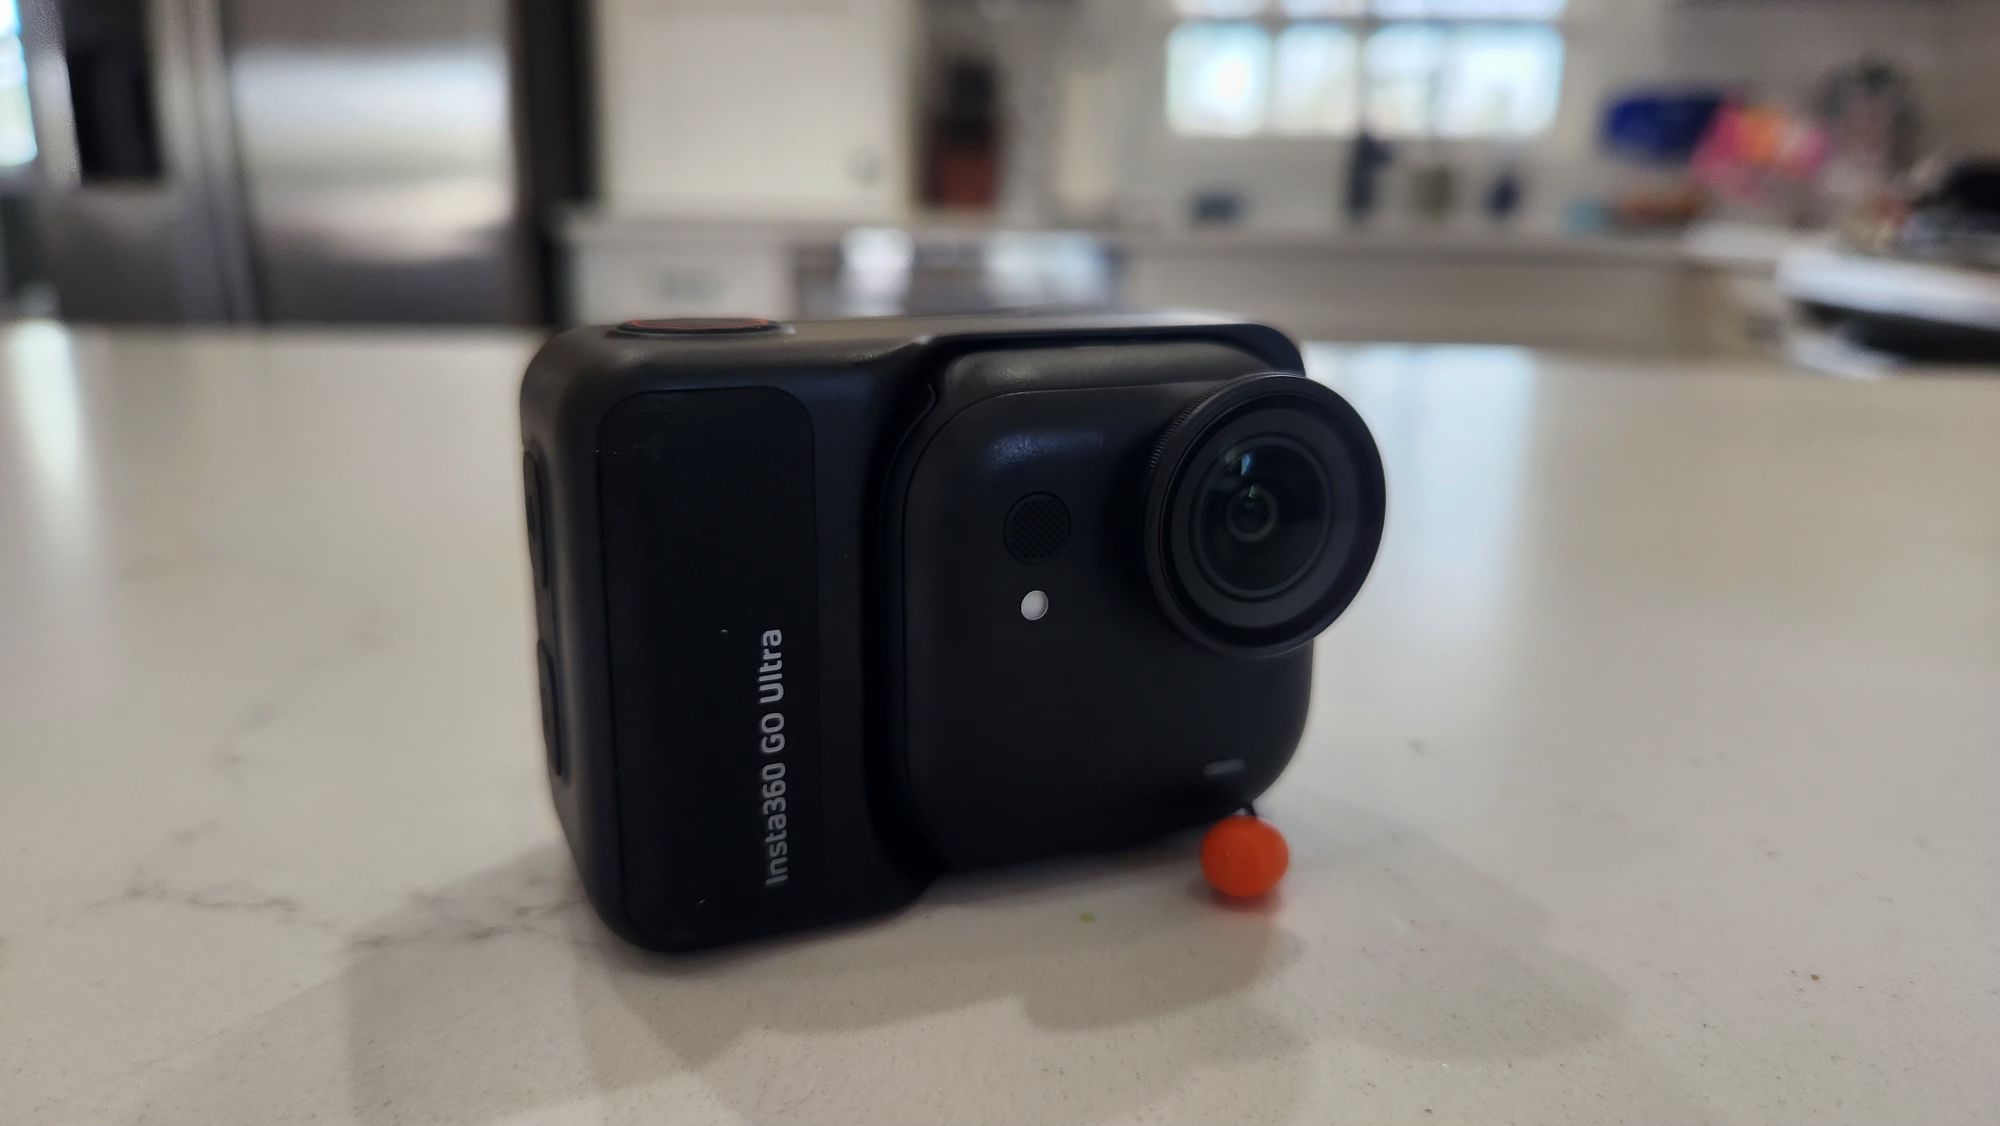
The camera is small but mighty! If you’re not into photography you may not appreciate just how far we’ve come in technology.
The Standalone camera with Lens Guard is 46×45.7×22.4mm (1.8×1.8×0.9in)
The Action Pod (Touchscreen Closed) is 70.4×48.8×33.3mm (2.8×1.9×1.3in)
Dimensions with the touchscreen open: 70.4×91.2×33.6mm (2.8×3.6×1.3in)
I was really concerned about this camera being so expensive and only attached magnetically. I am rough on things and I was worried it wouldn’t be strong enough for how I wanted to use it. I’m very impressed that I was wrong. You can mount the camera to anything that is metal, too! The magnetic strength is truly impressive. For this reason there are MANY warnings not to use the pendent if you have a pacemaker.
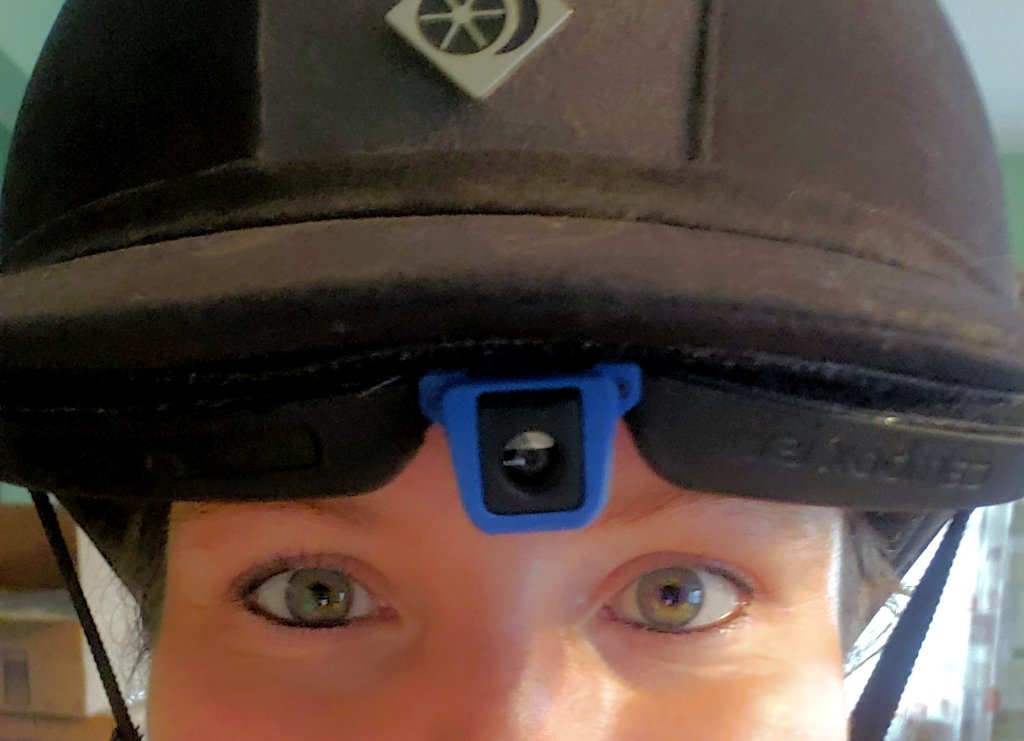
The very first time I used the camera I was thrilled. I used the standalone camera with the easy magnetic clip on the brim of my helmet. I was a little worried about its stability but we took it cross country schooling and it never budged. I simply pressed the button on the action pod in my pocket and I heard the camera come to life. Additionally I could press the button on the standalone camera. I liked the angle of the camera I used that day but I got overzealous with the filming and the battery died before we got to water and banks. I also wish I had checked that the camera was positioned in landscape mode instead of portrait.
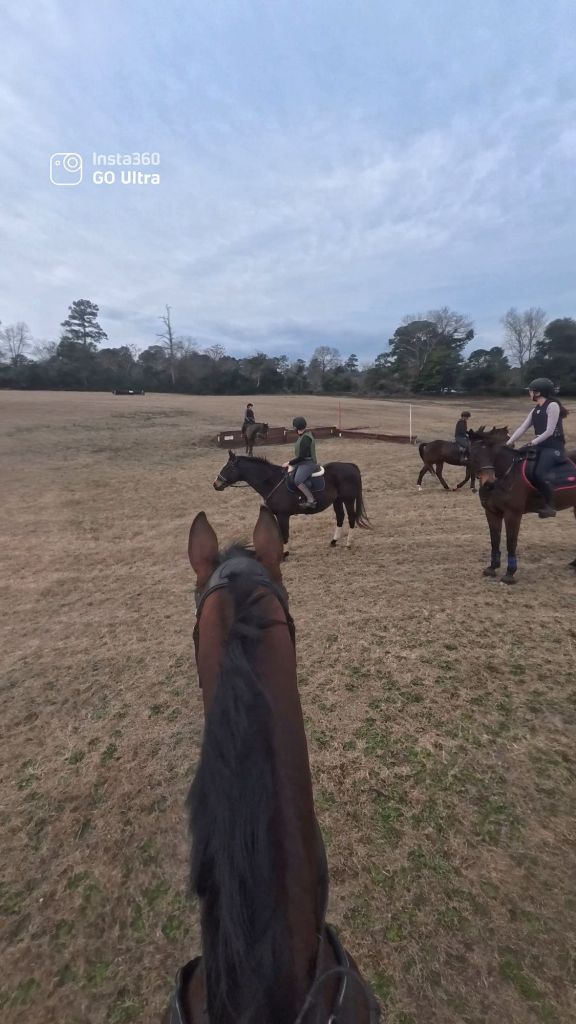
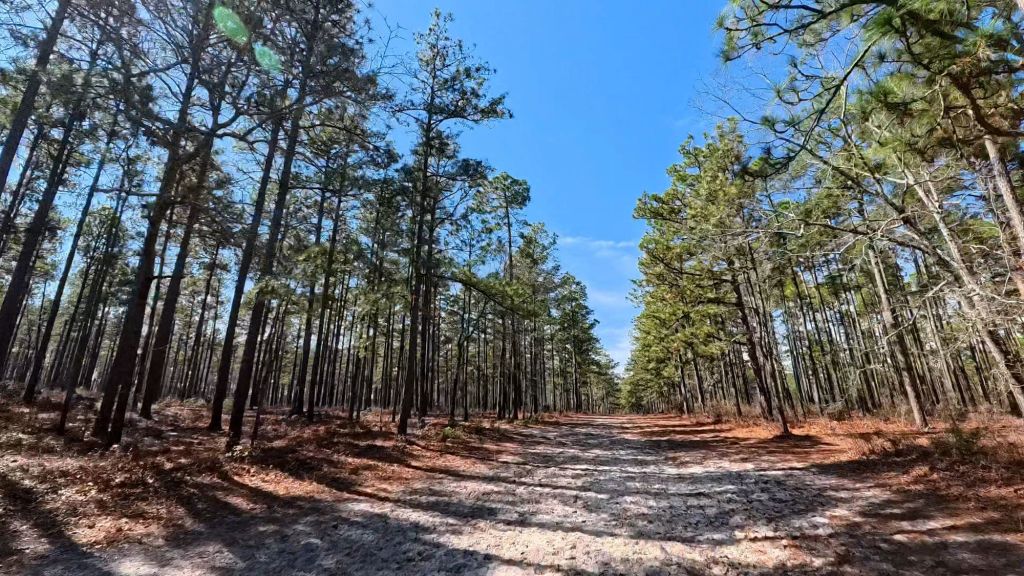
I used the camera again in the same way at Hitchcock Woods. Being overly confident I simply set the angle and never actually looked at it when I got on Stanley. I remembered to position the camera to capture landscape mode but I wish I had checked the angle of the clip. The angle was a little too high. I usually prefer an angle that allows me to see forward but also captures the horse’s head and neck. You could only see the tips of his ears for the most part.
The third time I used the camera was for my stadium lesson and I tried out the magnetic pendent. The pendent is super cool, it goes UNDER your shirt. You can turn the pendant around to change the angle of the camera. You can lengthen or shorten the pendent to your needs. Unfortunately I didn’t account for the jostling. The first problem was that my shirt fits loosely. So every time I move the camera bounces. The second problem was I used the quick release safety strap and the bouncing caused the strap to constantly swish in and out of the frame. My entire video consists of bouncing and strap flapping…so bad you’d see my face from the bottom several times. I took some lovely screenshots but that experiment was a fail.
The pendent would be great for lower key activities or with a tight fitting shirt. Maybe even double-sided tape to hold it in place? So far the helmet view is superior but I haven’t yet explored all of the options.
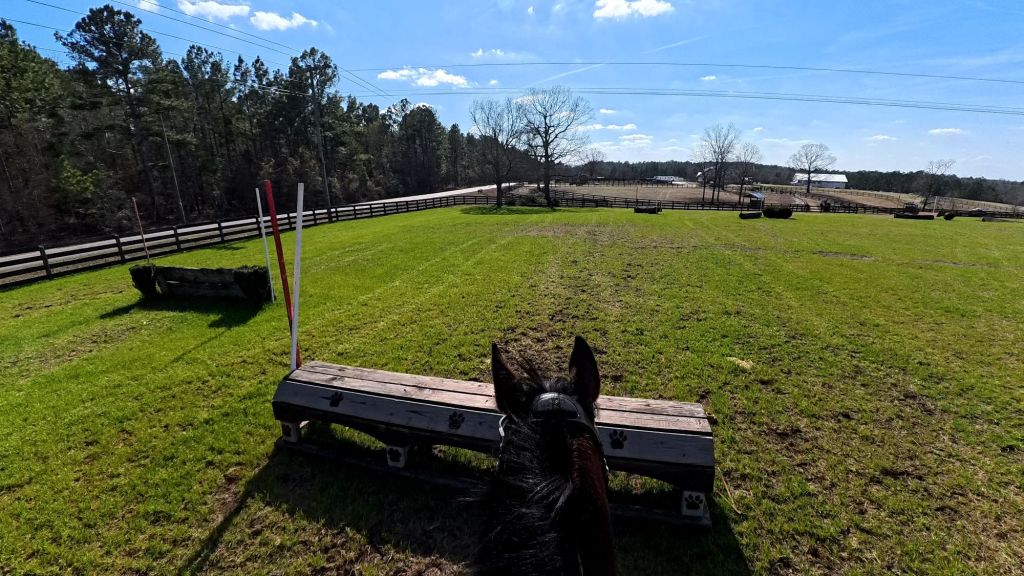
I did finally find success with using the standalone camera on my helmet and the right angle. When I was in Aiken we went to the Vista to cross country school, and this session recorded a lot of great content!
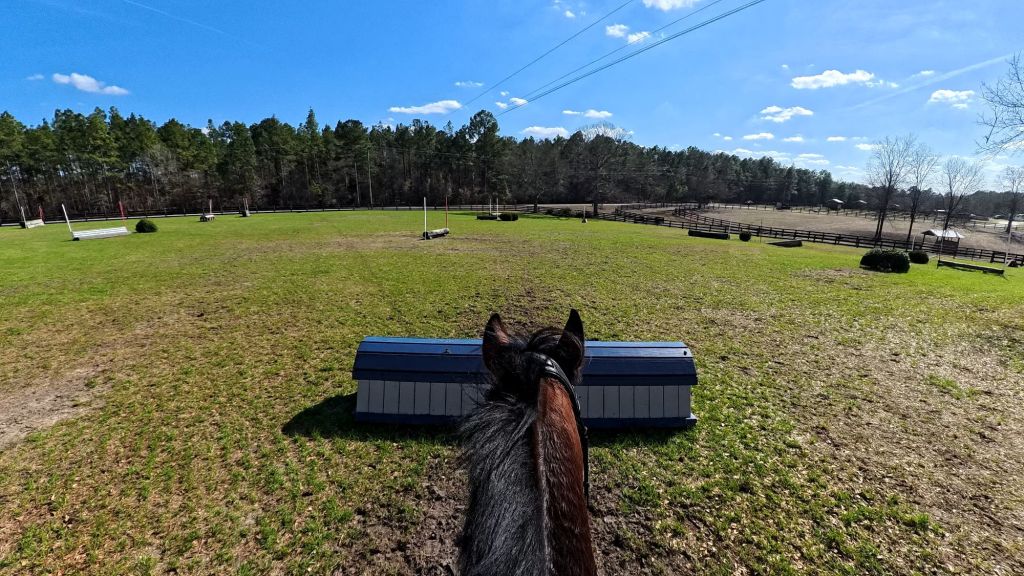
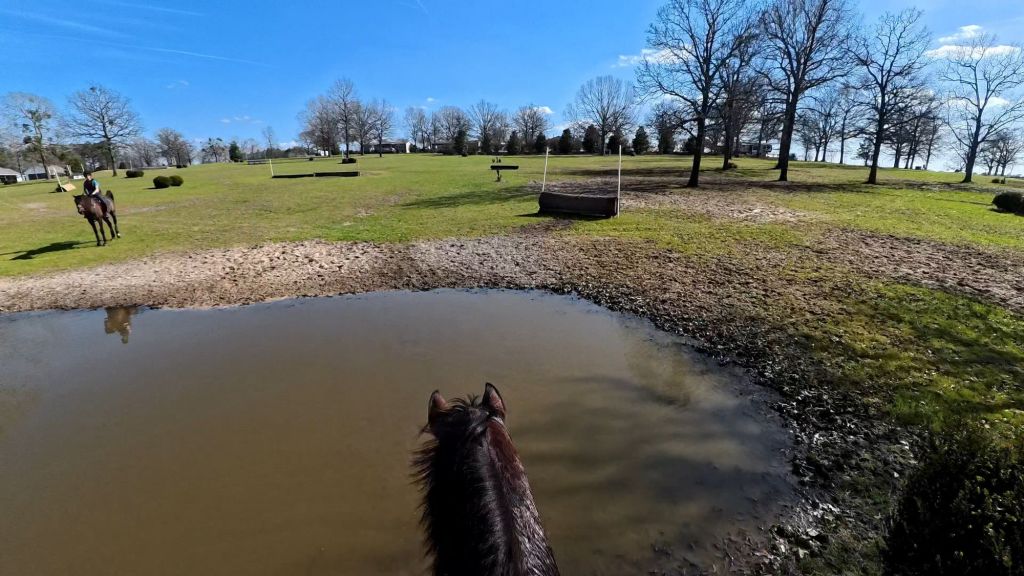
Viewing videos can be done two ways, the first can be directly on the action pod by swiping right. The second, and the easiest way to edit in my opinion, can be accomplished by connecting through the app. From there you can export the videos to your phone directly. Take screenshots. Trim the video. It’s so easy and doesn’t take a lot of time, so this element makes it a lot more useful for regular use.
PROS:
- The magnet is very strong
- Excellent photo and video quality
- Easy to use
- Easy to export
- Good battery life
- Good value for the price tag
- Multiple attachment options
CONS
- Insta360 should have an equestrian bundle!
- The pendent is too floppy for riding more than a walk
- Need your own SD card
- Not cheap
Final Word:
The Insta 360 Go is a very powerful tool and can be as simple or as complicated as you make it. I have seen what some creators can do with this little camera and I am seriously impressed. The specifications of what this little gadget can do is well worth the money. I love the gyroscope function as it stabilizes the video significantly to help viewer not get too much motion sickness.
The camera is great for so many purposes. Walking, sports, driving, and plenty more.
I love how strong the magnets are and how many attachments are available. So far the simple easy clip has been a big win in my book. I’ll experiment more as time goes on but I was extremely excited to share this with you before I got too far.
Check out the Insta 360 Go Ultra Here:

Leave a comment